Nancy, the newest member of our crazy group, is turning 60 at the end of December this year. I needed to get a jump on creating this book for her 60th since I'll be gone for all of December and much of January. I don't know when our group will gather to celebrate Nancy's birthday, but many of the years in the past we've gotten together in November before the big Holiday season begins.
The picture of Nancy popping out the the limo's sun roof was taken last February when the group rented a limo to drive up to Green Bay to visit Laura.

Nancy may not be the type for wearing a dress very often, but I love the philosophy of the words used on this stamp. It so fits many of the ladies in our group of friends.
I didn't have many pictures of Nancy so when I first began organizing for this booklet I was a bit concerned. But everything fell into place and I like the result... I just hope Nancy likes it too.

Nancy is into various outdoor activities that the rest of our crazy group isn't. She fishes and hunts with other friends. The book wouldn't be complete without some pages dedicated to those activities. The internet is a wonderful tool for finding pictures when you don't have any personal pictures to use. And you can usually find scrapbook paper and stickers to go along with whatever theme you are trying to achieve.

Nancy hunts too.. and more than just deer! Since I didn't have any pics of her hunting I resorted to the internet and the sticker section of Michael's.
On the right is a picture of some of our group at Bert's condo when they first moved in. I don't know who is taking the picture???
We get together for no particular reason and for any reason we can think of.

We are a crazy group of ladies. Some of us have been together longer than others. Nancy has known Bert and Mary since early childhood, but she is really the "newest" member of our crazy group.
I love the picture on the right. I don't remember where or when it was taken, but I love how the snowflakes have melted on the camera lens. I'm pretty sure it is a pic of Nancy, Mary, Bert, and me.

Sometime in November or December we try to get together to celebrate the winter birthdays. On the left Nancy and I are celebrating our birthday and on the right we are capturing our group in front of Cara's christmas tree. We always have fun ... we talk, we laugh, we eat, we laugh, we have a couple of drinks, we laugh... you get the picture!

I was thrilled that I already had various scrapbook papers in my stash that worked so well for this book.
The picture on the left is of Nancy, Bert, and myself as we celebrated all 3 of our birthdays together at Cara's house. On the right is a picture of some of the gang that was able to travel up to Laura's in Green Bay last February. Would you believe they rented a limo... and had a blast! It was a surprise for Laura as her birthday is in February. Unfortunately, I wasn't able to make that get together.

Here is the last page... well, almost the last. I still need to sign the back inside cover and write a little note to Nancy.. but I have until November to do that!
I've been able to use a bunch of things that I've had for some time. The embossed paper I used for the background I've had since there were 'Paper Adventures' warehouse sales in Milw. I don't know how long I've had that cute birthday ribbon with the yellow and green candles!
But the stamp I used with that wonderful verse is rather new. I hope Nancy enjoys her book.
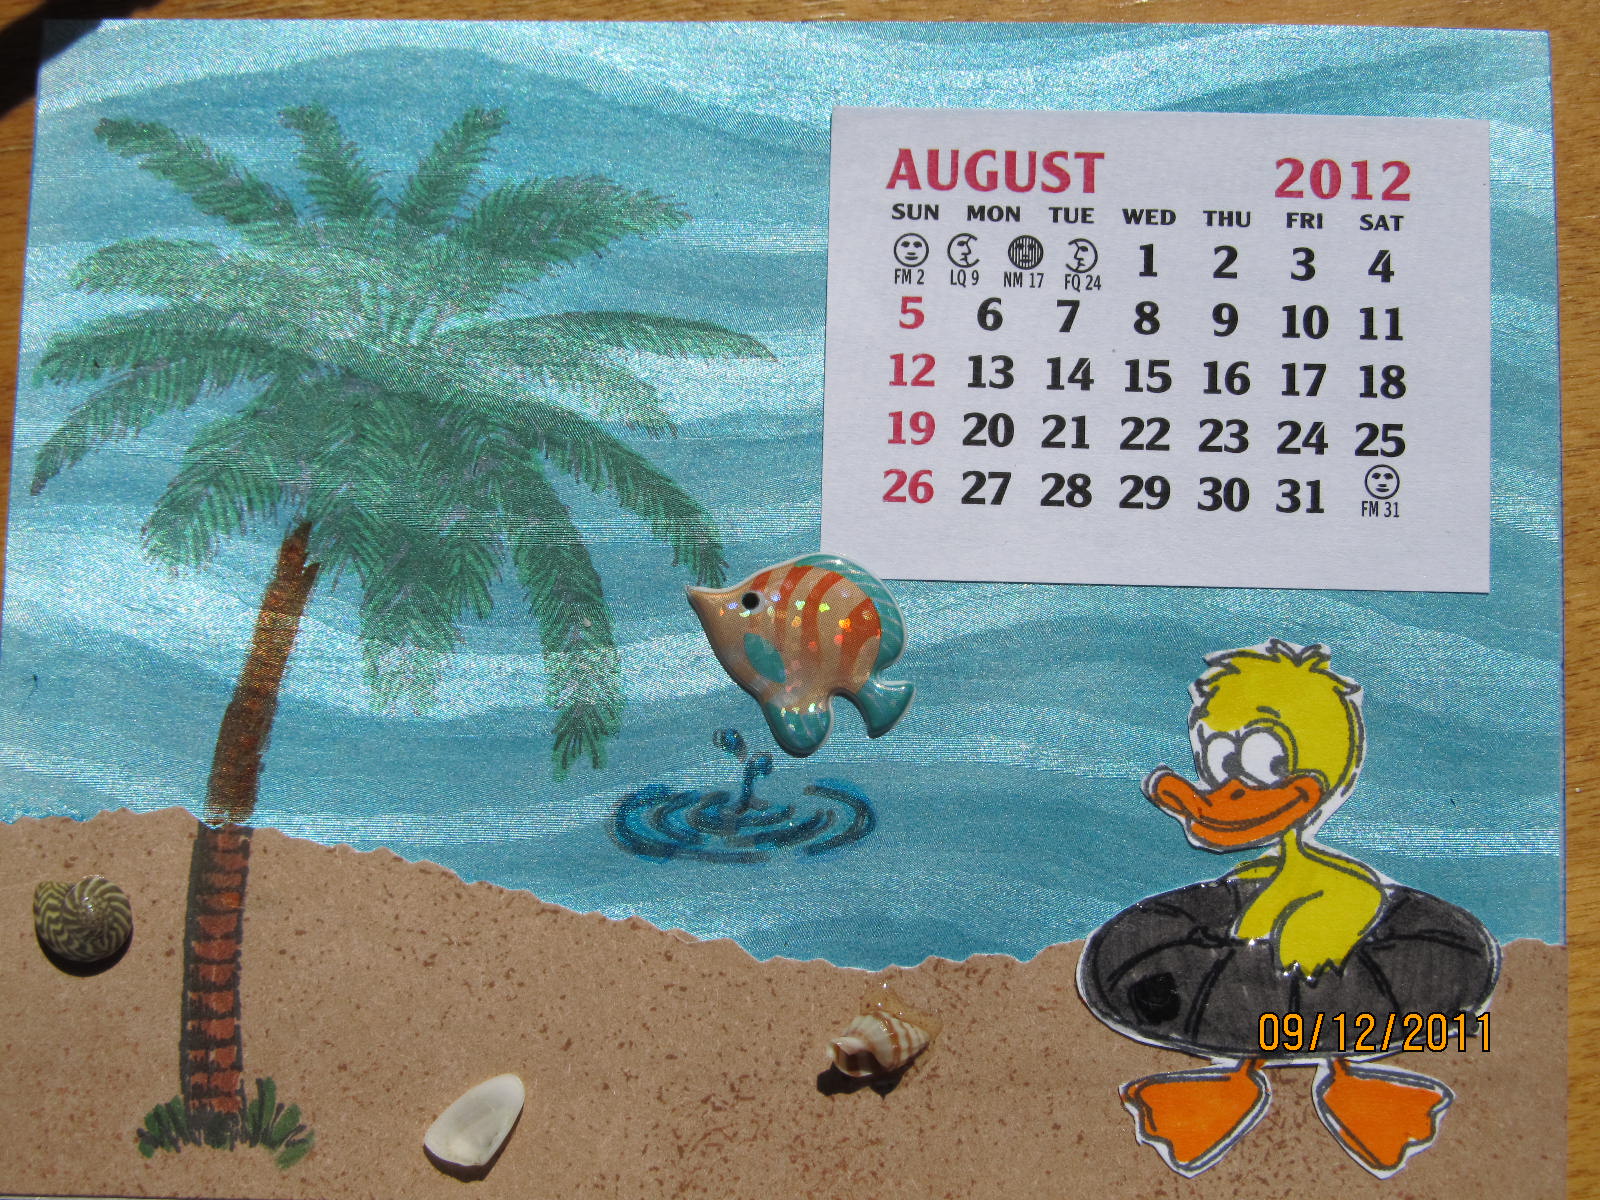
 My monthly stamping group is putting together a calendar. We've divided up the months so that each of us is responsible for 2 months of the year. We need to create 12- 4 1/4 x 5 1/2" pages for each of the 2 months. When we meet in November we will use a bind-it-all to bind the pages so that each of us gets 2 full calendars.