I've finished the Art and Soul configuration box that we started at Jan's house during our WI Art Camp in October. Here is a look at the entire project. It will be fun to see everyone else's box. I had various ideas for how to finish this project and even started looking at the craft stores for things to use. BUT... then I decided to use items I already had on hand. I've been trying to use up things I've had so why not in the case of this project!!
It is amazing what a person can accumulate over the span of several years. All the items I added were so small that it didn't even make a dent in my stash.
However, I really enjoyed this project and could see doing more of them in the future.
Here is a closer look at the embellishments hanging off the right side of the box. The only item I added since leaving Jan's is the shrink plastic torso. There are some beads, one being a die, attached to the stamped shrink plastic torso using red artistic wire. Would you believe this is a left over charm that I made years ago as a swap item for the Raeven's Nest retreat in Cedarburg... where the Bev, Carol, and Margaret met us face to face for the first time!!! I guess this charm was meant to be part of this project class that we took together.
In the lower right corner is a small rectangular box. This one gave me a bit of a problem. I tried out one idea and ripped it out. Then I strung colored beads and a gear charm onto artistic wire. I pushed one end of each string into a small hole in the sides of the box and secured with some diamond glaze. Then I found some silver fan charms and attached it to the corner of the box with diamond glaze and then added a pearl embellishment.

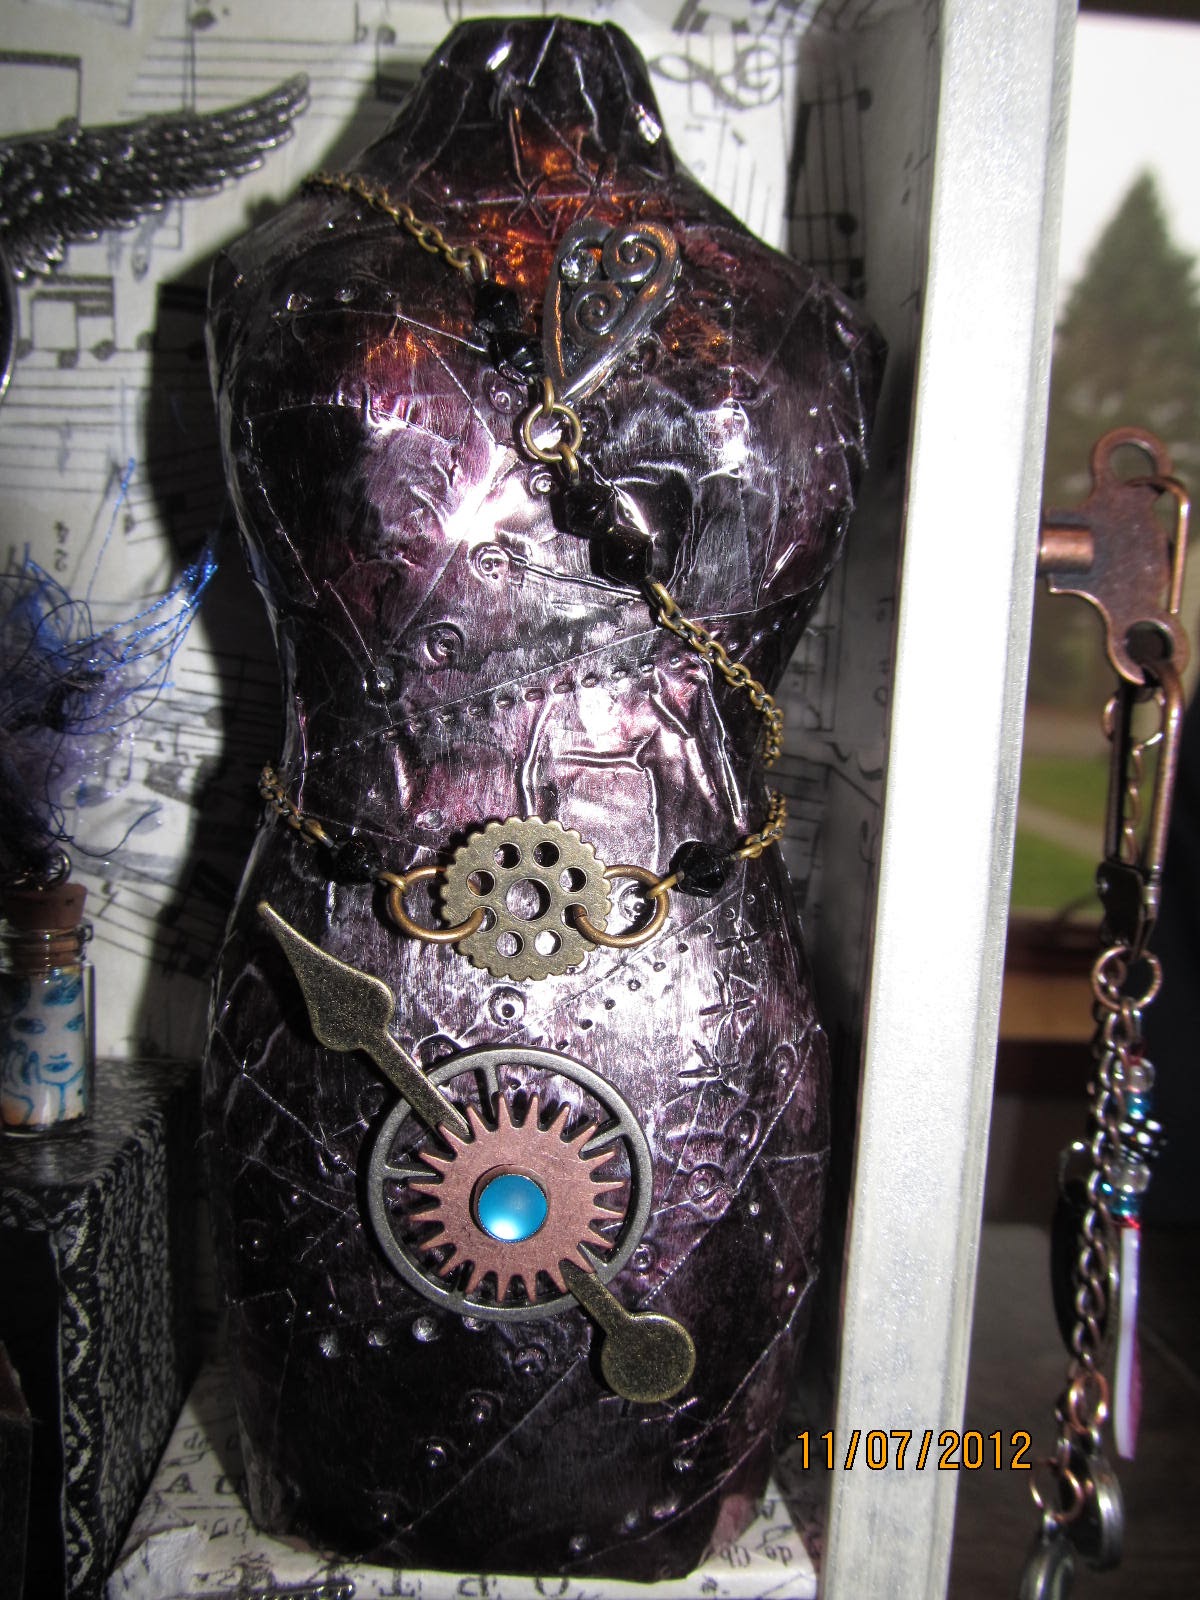
Standing on the small rectangular box is the torso. I found a beaded chain, that I think I pulled off some other project, and wrapped it around the torso securing with stick pins and diamond glaze. I added a gear charm in the chain at the torso's waist. I had a package of jewelry heart charms so I chose the silver one and attached to the chest of the torso with diamond glaze. Jan had given us some embellishments to use as we chose so I took a couple of the gears and a large spinner, secured them together with a colored brad and used liquid nails to attach to the torso.

In the lower right I had placed a square box. I found a metal 'castle' and 2 copper star charms that someone had given me in my stash. I used a piece of thick cardboard to attach and prop the castle up with and placed one star so that it hung in the opening of the castle. The other star was attached using a black brad into the side of the box. I used another fan charm in the corner of this box using red line tape and diamond glaze to secure.
I placed a small square box on top of the larger box, but before doing that, I used red line tape to attach decorative trim to all four sides on the front of the box. Using a small piece of artistic wire I hung a decorative metal piece from the top of the box. I had 4 of these metal pieces and can't remember who I got them from, but I've had them for years. To the right of the box I attached a small bottle that Carol had made. I think it was from some charm swap that we did years ago on CCSwaps.
Just above the small square box and to the left of the torso I used the clock face, angel wing, and spinners that Jan had provided with this project. I used another one of my 'gem brads' to secure the hands to the clock face and then used red line tape and dimensional tape to secure the items to the back of the box.
On top of the box I added 2 more of the metal embellishments like the one I had used inside the small square box. I used liquid nails to secure them to the light bulb.
This project was so much fun. Thanks Jan, for having this class for us. It opened my eyes to a lot more project ideas... now all I have to do is execute them!!!