On Friday, July 13 Maggi, Mary, and I drove up to Appleton, WI for a card class at
The Paper Cut. Twice a year they hold classes at their facility and then have a warehouse sale. If you attend any of the classes on Friday you can enter the warehouse sale on Friday night. If you do not take any of the classes, the warehouse sale is available on Saturday. We sure wouldn't want to miss out on any of the deals at the sale so last year and this we have gone up on Friday for a class and then 'shopped till we dropped'.
This year we took a class called ' Textures Galore'.
The class involved using some of the specialty papers they sell using embossing folders, embossing powders, and stamping.
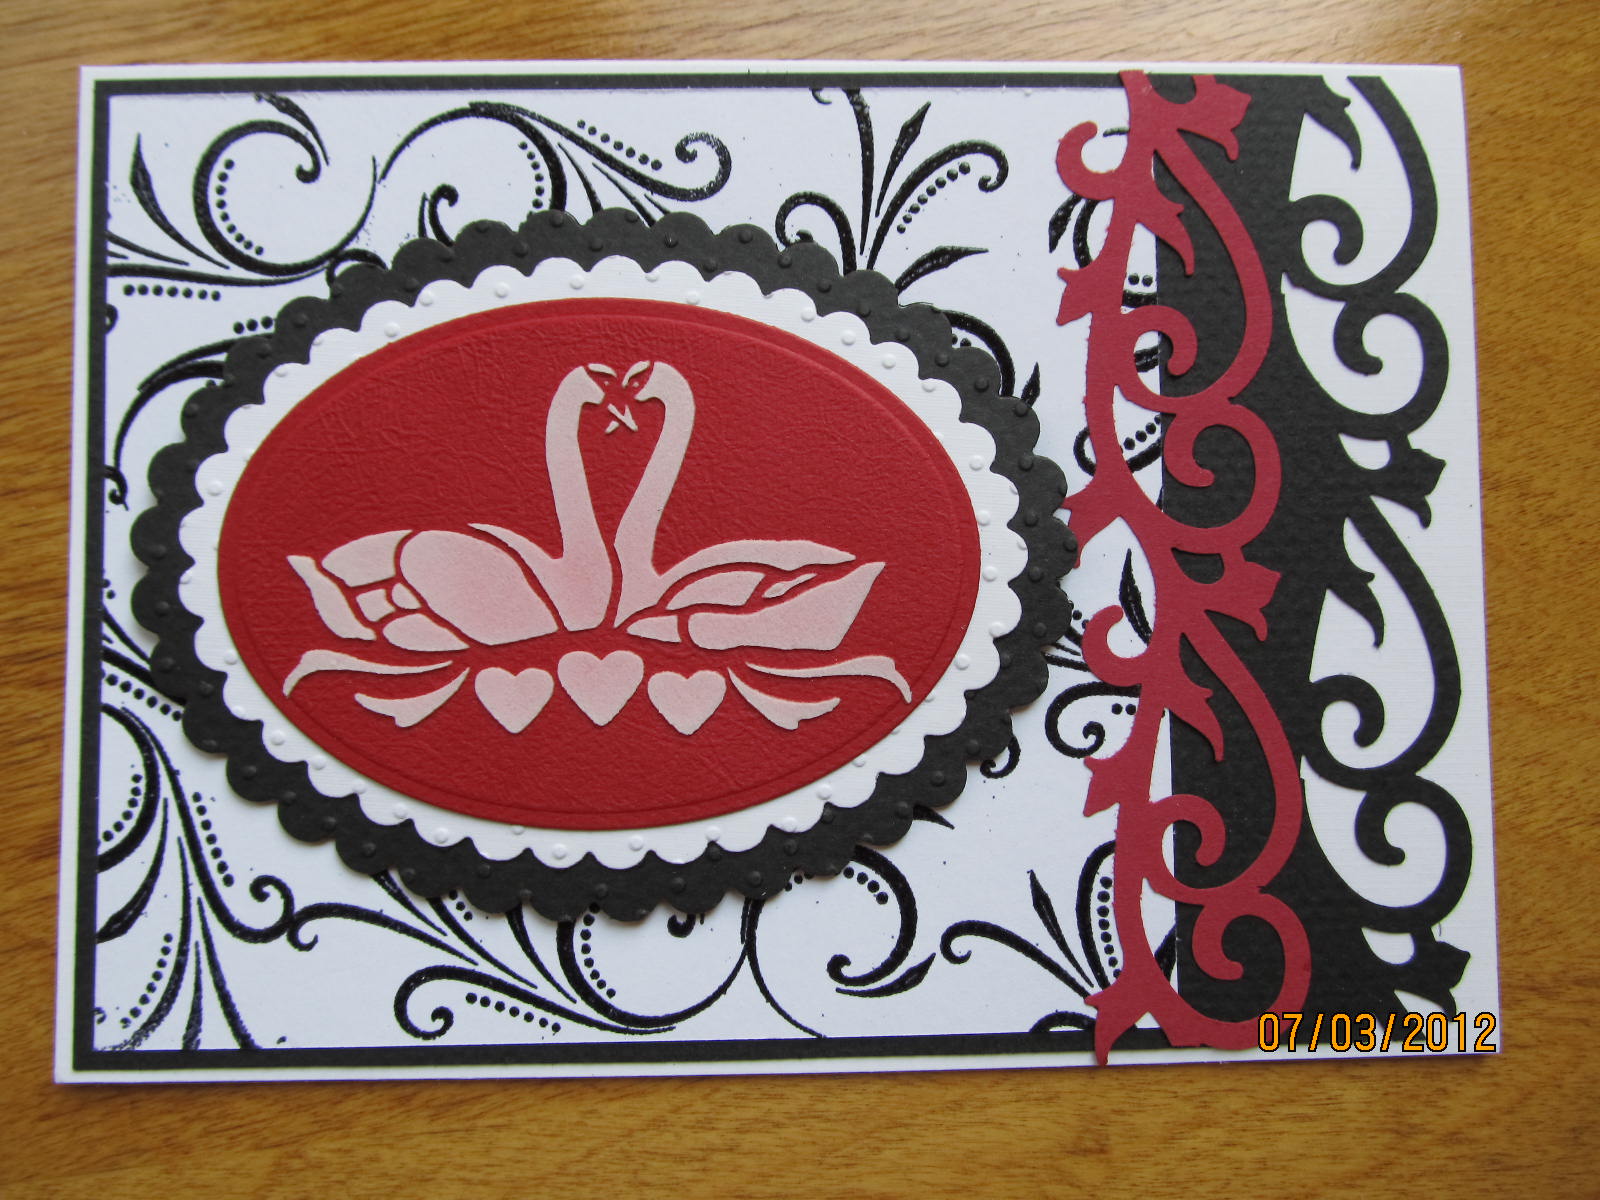
I already gave the above 'here comes the bride' card to one of my daughters for her wedding shower. I'm sorry that I won't be able to specifically identify the types of paper we used on each card. I should have kept notes during our class, but the classes are extremely fast-paced and you barely have enough time to complete the cards in the time allotted. In fact. we ran over our time by at least 1/2 hour. Before running the satiny looking background piece through the big shot with an embossing folder, we applied brilliance ink to one side of the folder. We applied stickles to front of the wedding dress to create the shimmer.
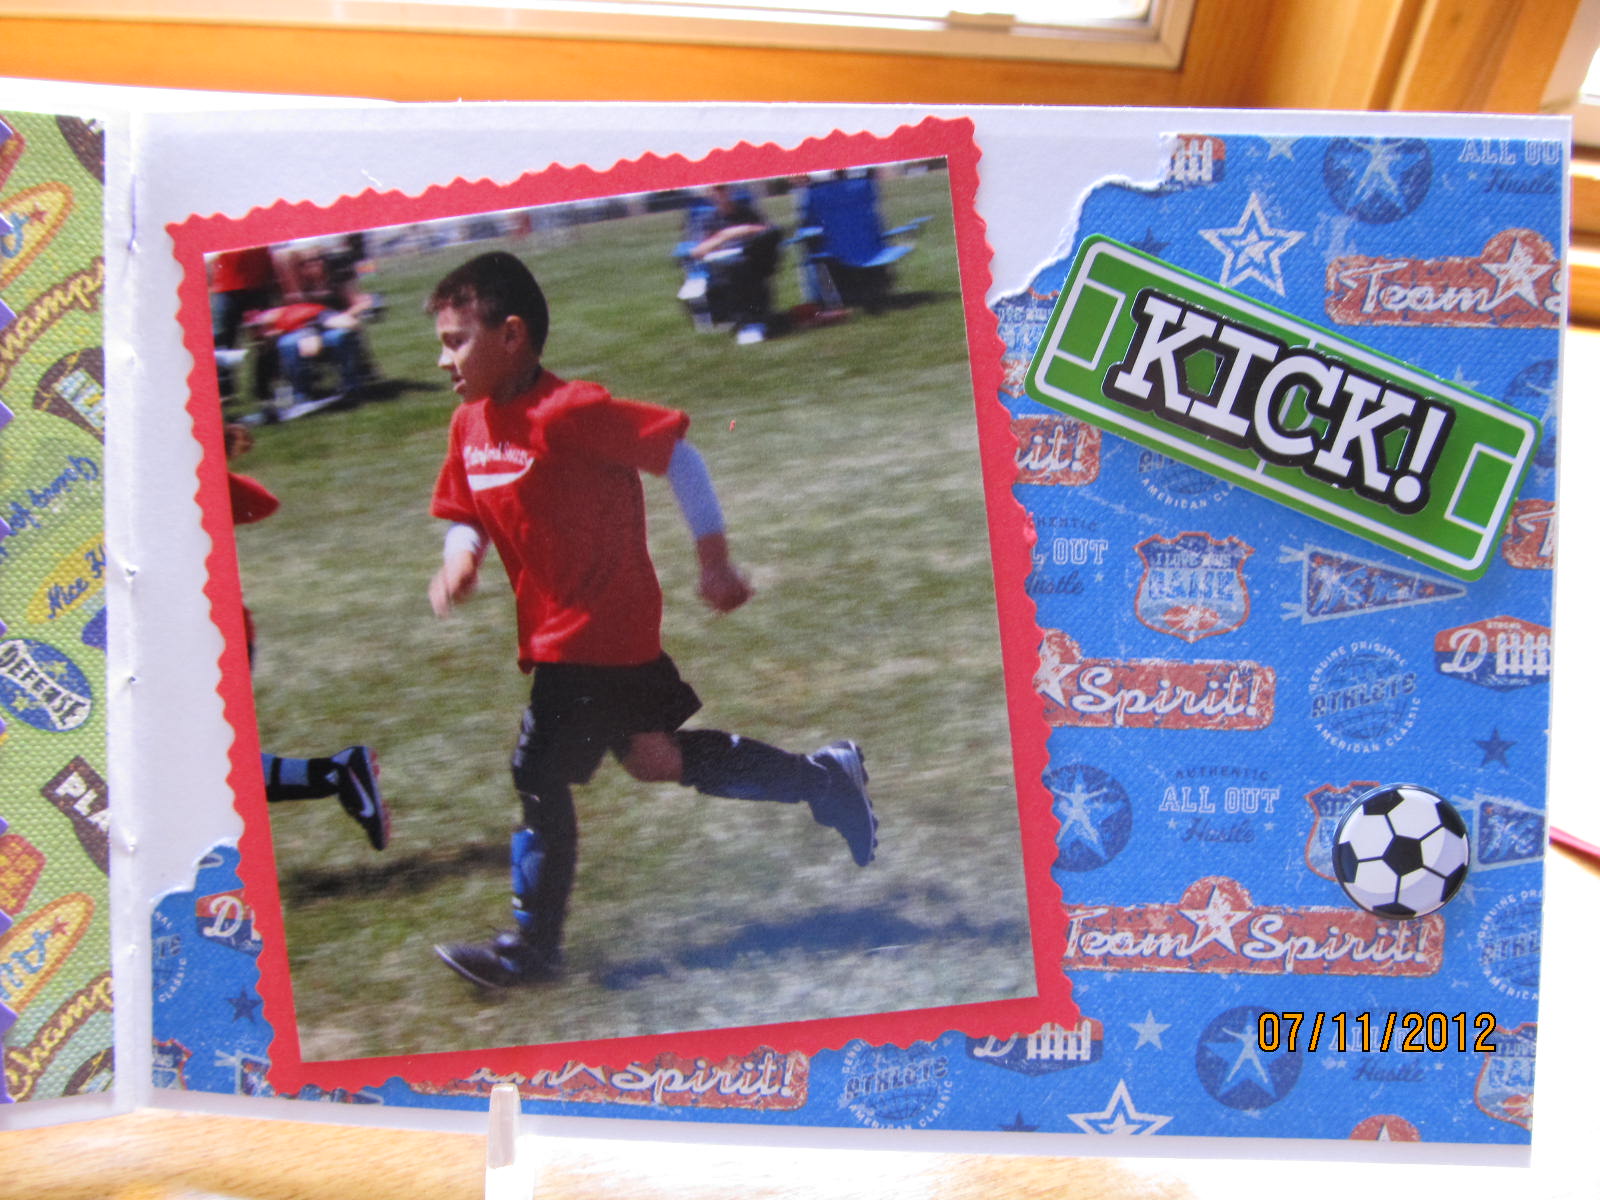
The next fishing themed birthday card is sure to find a home. After stamping the fish, sailboat, and words we used hand punches to punch them out. The green background piece was embossed with a cuttlebug embossing folder... I know it is cuttlebug because I have that one. Round punches, slightly larger than those used on the white stamped pieces, were used on the green background so that a border of the blue card would show through after applying the punched pieces to the card with dimensional tape. Two blue glass pieces were attached with glue dots above one of the fish. The blue card and green background are sold by The Paper Cut as precut pieces either separately or in packaged sets.
The sentiment on this card was stamped on a piece of Eames White Canvas card stock. I know because I bought some of this! The paper has a nice texture and this card shows how stamping can be done on this texture without affecting the stamping and still showing off the texture.
I don't recall what the shimmery gold paper used for the background is called. The top layer of white card was placed in an embossing folder that was first rubbed with versa mark on one side. After running through the Big Shot and taking the embossing folder off we sprinkled a mixture of glitter and embossing powder onto the piece and heat embossed. The white embossed piece and sentiment piece are torn and then attached to the gold background. Before attaching that piece to the white card a sheer dotted ribbon was tied around the left edge.

Here's another example of using the embossing folder with versa mark ink and embossing powder. That is what was done to the piece on the left side of this card. I wish I could remember what type of paper this is. Both the white card and the white piece on the left are the same type of paper. It is smooth and glossy, but not thick and stiff like glossy paper tends to be. A strip of green card stock was embossed with a dotted border and cut to fit under the left side before applying to the white card. Then the stamped scallop punched piece and a couple of punched flowers were added to the front with a pearl embellishment.

A cheery hello!!! Both the black and hot pink piece of card stock are very satiny feeling. The hot pink piece was run through the Big Shot with an embossing folder. One of the things that this class was demonstrating was how these specialty papers could be embossed using the folders and not result in the paper cracking or tearing as some specialty or textured papers may tend to do.
Colorful brads are used as flower centers, and the ribbon is the perfect finishing touch.
Who wouldn't love this card??? A piece of silver mirricard is used as the bottom layer to create the shiny edge around the embossed silver paper. Once again, I cannot remember what the name of the specialty paper is that we used for the embossing. Those butterflies were die cut from holographic paper. There were about 5 different patterns of the holographic paper to choose from. I did buy some so I'll be having fun with that in the future.
The black card and piece on the front is a very thick card stock. It is a bit shiny and comes in several colors. I believe it is called 'Stardream'.
Well, I might get to use this, but not until January. We are going to be 'great grandparents', but we don't know the sex of the baby yet!
I believe the pink and the black pieces are 'Stardream'. The two white pieces and the pink baby outfit are beautiful textures and show that you can both stamp, color, and emboss.
The 2 buttons were added embellishments. I should have waited and attached them at home so that I could have first added some pink or white thread through the button holes. Maybe I'll try to take them off and reapply.
Here's a great card! But I did screw up on this one. There is supposed to be a small denim blue oval in the lower right that says "to you". I ran the strip of blue denim card through the machine with the embossing folder before looking at the sample card and because I did that I didn't have enough space on the right side of the words 'to you' so that I could use the oval punch on it. Oh well, maybe I'll add something else to this card later. I had bought some of the denim card stock on my last visit to The Paper Cut. On this visit I bought a pack of the stonewash card stock. I didn't realize, until we took this class, that both these card stocks had a white core.... so when you use an embossing folder you can sand down the paper to achieve this look!!!
Pieces of white card stock were cut into scallops and attached behind the 'happy birthday' strip. Then blue glass pieces were attached to each scallop with glue dots.
It was a fun day, but a long day since Appleton is 2 1/2 hour drive from home!!! Hopefully, we can do this again next year!