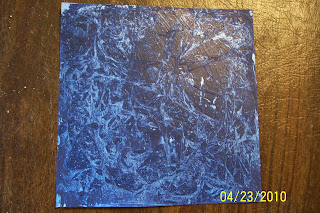
 Sunday (April 17) was my last class at Artiscape. It was called A Background Menagerie and was taught by Kari McKnight-Holbrook. She is a sweet person and a great instructor. She had set up work stations for the various backgrounds (27 plus). She provided written instructions on an index card and samples of each background at the work stations. I did not finish them all; I didn't even get all of them written down, but here are most of those that I did complete.
Plastic Wrap (shown above)
- Paint entire page with one color of acrylic paint and let dry
- Use a second color of acrylic paint, either lighter or darker, and cover the entire page again
- Quickly cover the page with a piece of plastic wrap and crinkle it up throughout the page
- Let dry and then remove the plastic wrap
I really like the outcome and would do this technique again.
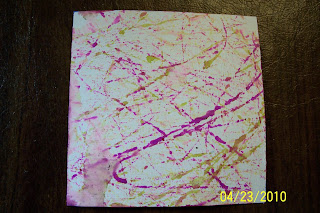 Inky Marbles
- Secure the page to the bottom of a container using small pieces of tape in the 4 corners. In class we used a tupperware container with a lid. Depending on how wild you get when you roll the marbles you could use an uncovered container.
- Place several, we used about 8 to 10, marbles in the container. Place a couple of drops of 1 or 2 colors of alcohol ink onto the marbles.
- Close the lid of the container and shake the container so the marbles roll across the paper.
- Open the container and place 1 to 2 drops of alcohol (or blending solution) onto the marbles.
- Close the lid and shake the container again.
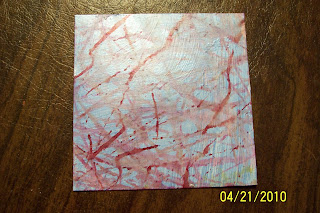 Inky Marbles
This inky marbles was created the same as described above except that before I performed the inky marbles technique I painted the page with acrylic paint.
This was one of my favorite techniques also and I can see myself doing this again.
If you are doing multiple pages you want to make sure that the inside of the container is dry before you start on your next page. You can wipe it out with a paper towel.
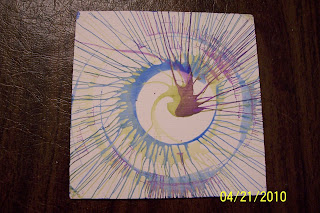 Spinner
For this technique we used a spinner. It can be found in the children's art section. We found it at a Hobby Lobby under the manufacturer's name of Creative Kids and the cost was $15.
- Affix page onto the spin plate using small pieces of masking tape in the corners. Make sure it sticks or the page will fly off.
- Mix paint and water to a consistency that is a watery drip so that you can use an eye dropper.
- Turn on spinner and using the eye dropper, drip the paint onto the paper.
You can drop the paint anywhere on the paper; it does not have to be placed in the center of the page. Use multiple colors and work from light to dark. Everyone enjoyed this technique... I may have to buy a spinner!!!
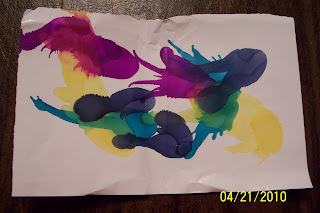 Alcohol Ink Spatter
- Place a couple of drops of alcohol ink onto glossy paper. It is best to work with one color at a time.
- Immediately spray the ink using a can of compressed air. The product we used was called 'dust off'.
- Add additional colors as desired.
This is a fun technique. It was my first time using a can of air and I learned that you should not shake it and only spray holding the can upright or the can will freeze up and not work until it warms up again.
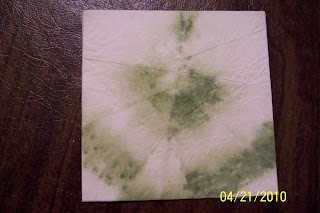 Coffee Filter
- Using an ordinary coffee filter, fold it up into whatever shape or size you wish
- Apply paint to various areas of the coffee filter. In this example I dipped the coffee filter into a cup of water that was used to clean brushes and then I applied a darker green in a stripped pattern.
- Let the coffee filter dry and then adhere to card using gel medium. The excess filter that hangs over the edge of the page can be cut off or folded over to cover the back of the page.
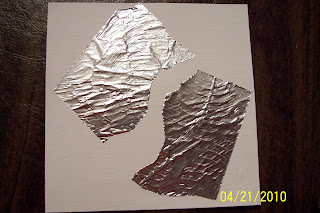 Flu Tape
- Place a piece of flu tape (also called metal tape) shiny side down on a texture plate
- Rub with a popsicle stick or stylus
- Peel off back of tape and position onto card. Once placed down this tape is permanent.
I found this tape at a local hardware store near the plumbing supplies; it comes in a fairly large roll. I would think you could run this through embossing machines, like a cuttlebug. Just remember to leave the backing on the tape until you are ready to adhere to the page. You can now paint the tape or use alcohol inks on it.
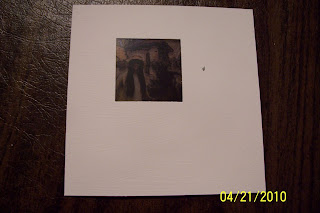 Windows
- Hold 2 pages together making sure the pages are lined up and punch through both. I used a square punch.
- Insert magazine photo, graphic, colored paper, or transparency between pages using pieces of scotch tape to hold in place. We used printed transparencies.
- Adhere pages together using tape, gel medium, or whatever method you wish
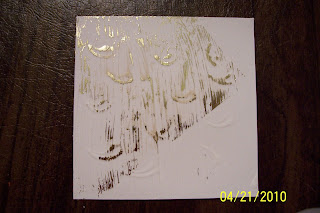 Foil
Foil- Start with a page that contains texture/raised areas. We created raised areas by applying gesso more heavily in some areas and manipulating with our paint brush handle.
- Apply gel medium over entire page and let dry
- Place foil shiny side up on part or all of page
- Press onto foil with a heating iron
- Pull off foil
I like this technique, but I think I need more practice.
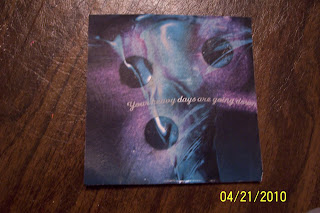 Magazine Pages and Rubbing Compound
- Select a colorful magazine page, adhere to card with gel medium, let dry
- Take labels (I used round ones) and rub them on your clothing so that they are less sticky
- Place labels on colorful areas of page
- Take a small piece (cottonball size) of Neverdull and rub on and around the labels or anywhere else on the page
- Pull off labels
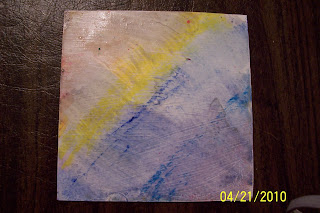 Portfolio Oil Pastels
- Color card heavily with Portfolio Oil Pastels
- Using a brush and moving from light to dark, apply future floor wax
I think this works best if you apply the floor wax very sparingly on the paper otherwise it puddles up. In class it also became a problem since everyone was using the same brush causing the colors to muddy.
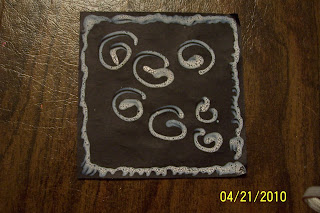 Bleach Pens
- Use dark card stock
- You can rough up the edges of the card stock with an emery board if you wish
- Write/draw onto the card stock with the bleach pen
- Set aside to dry
I'm not sure I care for this one. After this dried some of the white that you see was crumbling off the paper. I don't know if I applied to much of the bleach from the pen or if this is how it should be.
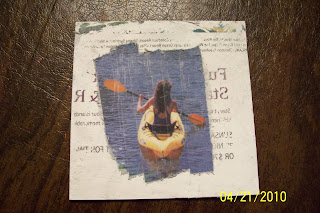 Scotch Tape Doubles
- Choose a magazine page with interest on both sides of the page
- Apply gel medium to magazine page and smooth it onto the card making sure to have focal image facing up
- Place strips of scotch tape across parts of image you want to preserve
- Let gel medium dry and then rub off pulp using wet fingers; spritz the page with water if needed
I think that clear packing tape would be better as it is wider. I like how the print from the other side of this magazine page stays on the card after rubbing off the pulp.
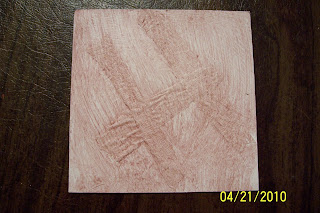 Masking Tape
- Apply strips of masking tape over the page
- Gesso over the tape
- When dry, apply glaze over the page
- Rub and buff over glazed page
I think I should have used more masking tape to create more texture.... and I think I forgot to rub and buff over the page once it dried. The class was getting a little hectic at that point.
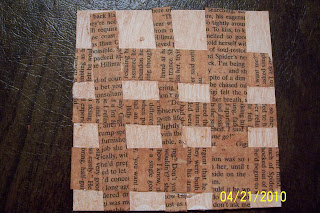 Woven Text
- Take a page with text and cut or tear into strips
- Apply gel medium over the entire page
- Lay the strips of text down making sure to weave them
- Touch up with gel medium where necessary to adhere the text pieces to the page
* Once dry I painted over the entire page with a tinted glaze
I think this would look better if I had ripped the text paper instead of cutting it, and I think that a darker paint would also be better.
2 comments:
Wow! Looks like you had a fabulous time and learned lots. What fun!!!
Thanks for posting - now I can identify some of my techniques!
Post a Comment