 My goal is to finish my Christmas cards before the end of October... because I won't have time in November to work on them. It took a while to get my brain into the spirit of Christmas cards. I remembered a 'reverse nestabilities' technique that my friend Maggi showed me. Maggi found the technique on Stamp TV by Gina K. I went to that website and watched the video and was hooked. All but one of my cards shown in this post use that technique. My photos don't show off the dimension of these cards. The top 2 layers are attached to the card front using a foam adhesive to give the look of a shadow box.
In this card I used my 'newest' christmas stamp... and some decorative christmas card stock that I bought last year, but didn't use up. Another goal of mine is to "use" a lot of the "stuff" that I've been hoarding over the years that I've been involved in this crazy hobby of card making and mixed media.
 The stamp I used for this card is actually larger than what you see through the layers, but it worked well for this reverse nestability card. I did use some watercolor pencils on the tree and the holly in the lower left corner to add just a touch more color. I used deckle edge nestabilities to cut both layers and the inside layer was edged with a gold krylon pen. A decorative corner punch was used on the outside layer. A piece of printed vellum on the bottom seemed a good addition to spice up the card.
 In this card I used the same stamp used above. And, I used the same types of card stock, but I reversed the colors; in this one the card base is green and the inside layer is red. Also, I used a classic rectangle nestability on the inside layer rather than the deckle edge rectangle.
Here is that stamp again with different card stock than used in the previous cards I made. I still have more Christmas papers in my stash!!! I guess I'll be using them for my next years cards too.
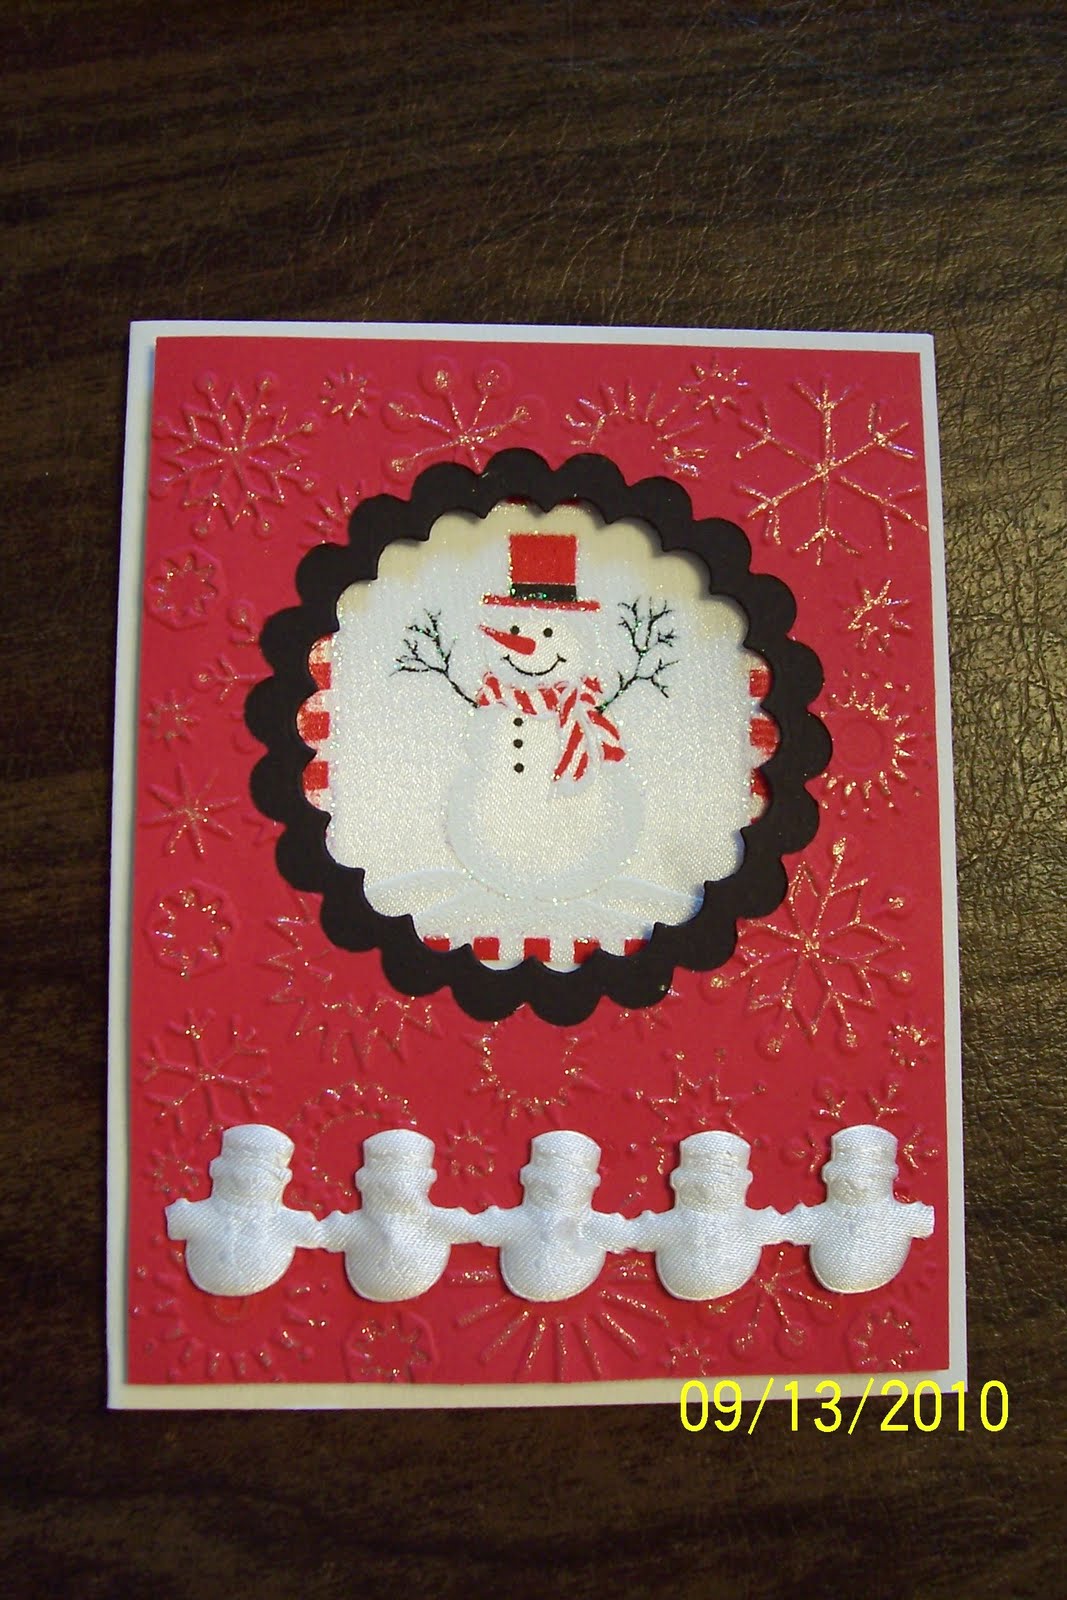 This card is another using the 'reverse nestability' technique. I really like the look of this technique... can you tell.. I've made lots of Christmas cards using it! And once again I focused on using some things I've had in my stash for some time now..... the white snowmen trim at the bottom of the card and the snowman in the center of the circle. That snowman in the center is ribbon!!! It is a wide ribbon with about 3 different types of snow men printed on the ribbon separated by red and white checks. So I just cut off one of the squares, one snowman, for each card I made. The red card front was run through the cuttlebug with the snowflake embossing folder. After I did that I used my glitter gel pen to outline the snowflakes; it gave the card just the glitz it needed. I used the scalloped circle nestability for the red and black card stock.
 I have quite a few nestability "left overs"... like the black scalloped circles I used on this card. But first, I ran my red card front through the cuttlebug with the snowflakes embossing folder and then I ran a strip of clear vellum through with a snowflake border. I used a glitter gel pen to outline the snowflakes on the red card and to apply dots in the scallops of the black circles. The cute snowmen faces were stamped with black ink and colored with markers before running them through the cuttlebug with the nestabilities scalloped circle.. just one size smaller than I used on the black card stock.
2 comments:
Love these!Think I shall work on mine today! you have inspired me!
Love the cards... so awesome!
Post a Comment