Tuesday, October 30, 2012

WI Art Camp 2012 - Day 4

 It was Day 4 already... where was the time going??  If I remember correctly we started by finishing off the melt pot techniques.  I had failed to take pictures during our melt pot session... so you are stuck with pictures of my creations.
This is the cloisonne technique from Suze Weinberg.  Using a tweezers dip a Formica sample chip into melted black UTEE to cover one side of the chip.  Remove and let cool.  Using a brush, apply various colors of perfect pearls to the chip.  Now heat the chip using a heat tool to soften the UTEE and immediately press a stamp that has been inked with gold brilliance pigment ink into the chip.  Let cool and remove the stamp.  You can take this a step further, I didn't, by again heating the chip with a heat tool and the colors with meld together.
 I liked this technique best and I think it worked for most of us.  Lay a memory frame on top of a stamp; I used a background image of swirls.  Slowly pour the melted black UTEE into the memory frame being careful to not overflow the boundaries of the frame.  Let cool and lift the memory frame off.  Then brush on perfect pearls and you can also add some glitter glue as I did in my piece.
 This did not turn out as the utube video showed.  Lay the memory frame on a craft sheet and pour melted UTEE into the frame.  The utube had melted clear and a small bit of white UTEE added.  We used clear with a bit of pearl UTEE.  Again be sure to not overflow the boundaries of the frame.  While the UTEE is soft press a stamp that has been inked with embossing or versa mark into the UTEE.  Let cool before removing the stamp.  Now sprinkle embossing powders onto the image and heat with a heat gun.  I think I heated too much and lost the definition/image created by the  stamp.  Oh well, this one will require practice.... if I decide to do it again.


Next we moved on to the ATC booklet.  This is the sample I made prior to the Art Camp.  I altered the instructions of the booklet that Maggi had found on line so that it would accommodate ATC's.  I cut pieces of mat board for everyone and had found small envelopes that were approximately ATC size so that all they would need to do was assemble.  This easy booklet takes less than a 12 x 12" piece of decorative cardstock to make... if you don't make the insert envelopes by hand.
When I created my sample I did make the inserts and created a template so that I can do this again.
Thanks for finding this project Maggi... I think everyone liked it.


We needed to take a break for lunch at this point. Some chowder that Maggi made for us and sandwiches.  We really got a lot done... and besides... it was Margaret's birthday today!!!!   We had lunch and then had Birthday Apple Pied baked in a paper bag from the Elegant Farmer.  Thanks Mary ...  for getting the pie.


 And now... the shadow box.  Maggi had received a shadow box from her sister.  Inside the box were various pieces of paper rolled and secured with thread and embellishments.  It looked like something we could do...why not??
I had picked up some 8 x10" black framed shadow boxes at Michael's.   We told everyone to bring decorative or handmade papers and embellishments and ribbons or threads for this project.


 Mary brought over lots of interesting papers and others brought papers that were added to the center of the table for everyone's use.
Maggi started us out by showing us how to roll the papers using a bamboo skewer and glue.
It got pretty quiet for a while as we all concentrated on our shadow boxes.
I haven't finished mine yet...I have all my papers rolled, but haven't added the fibers and embellishments.  At least I remembered to take pictures.


 I think they all turned out great!!!  Here are pictures of some of them.  Above, Bev shows off her art.  I'm not sure whose art is on the right!!!


 I got a picture of this one before we put the frame on.  Maggi had a great idea... since she already had the one her sister gave her she didn't need another.  So we all contributed rolled papers for this one on the left that Maggi worked on.  Margaret and Maggi worked on the finishing touches and we took it along on Wednesday and gave it to Jan since she couldn't be with us on Tuesday.


 Here is a picture of Jan's shadow box after it was completed.  We gave it to her the next day and she absolutely loved it!  This box is facing the wrong way in the picture... it is intended to be hung up in a landscape orientation.


 Here is a picture of Margaret's completed shadow box.  Again, it will be hung in a landscape orientation.


 And here is Mary's.  She did choose to do hers in a portrait orientation; however, I just realized I have this picture upside down!!!  Oh well, just stand on your head to view it correctly!


We're done!!!  Maggi has left for the day and the rest of us are having a drink!... Yes, in some cases an alcoholic drink... We deserve it!
I can't believe all that we accomplished!!!

Monday, October 29, 2012

WI Art Camp 2012 - Day 3

 Onward to Day 3.  Today was transfer day; there were several that we tried: TAP, transparency, and deli wrap.
Margaret had brought supplies for us to use and had printed some images on her printer at home using both TAP and transparencies.  We weren't sure if a special type of printer was necessary for those types of transfers.  
 It is a good thing Margaret printed some images for us.  I was able to print onto the TAP at first, but later on I couldn't get the specialty paper to feed through my printer.  I was extremely frustrated.  I think that I may have 'gummed up' my print rollers when I printed images onto the slightly waxed deli wrap because it seemed that after I did that is when I began to have issues with the TAP.
 Using the TAP was so easy.  Once the image was printed onto the TAP all you had to do was iron the image onto whatever you were transferring the image onto.
You don't have to use a printer to get the images onto TAP; you can draw on it also and then perform the transfer.  TAP is a Leslie Riley product and they carry it at the Artist and Display store in Milwaukee.  Several of the ladies bought some when we stopped there on Wednesday on our way to Jan's house.
 When doing the transparency and deli wrap transfer techniques you needed to use soft gel medium.  I think we all tried some of each type of transfer. 
Jan also brought some lutrador for us to try.  This product has the look and feel of interfacing.  After you transfer an image to it you can use a heat gun to get the edges to curl or to create burn holes on the edge or in the center of the piece... very cool!!!
.Margaret knew lots about transfers and so did Jan... so both of them really helped us out with this project.

 In between projects on day 2 and day 3 those who hadn't finished working on the aprons did so.  Here we are modeling our embellished aprons.  Everyone loved theirs and had a great time working on this project.  I'm not sure what will happen if any of us try to wash our aprons!!!
 
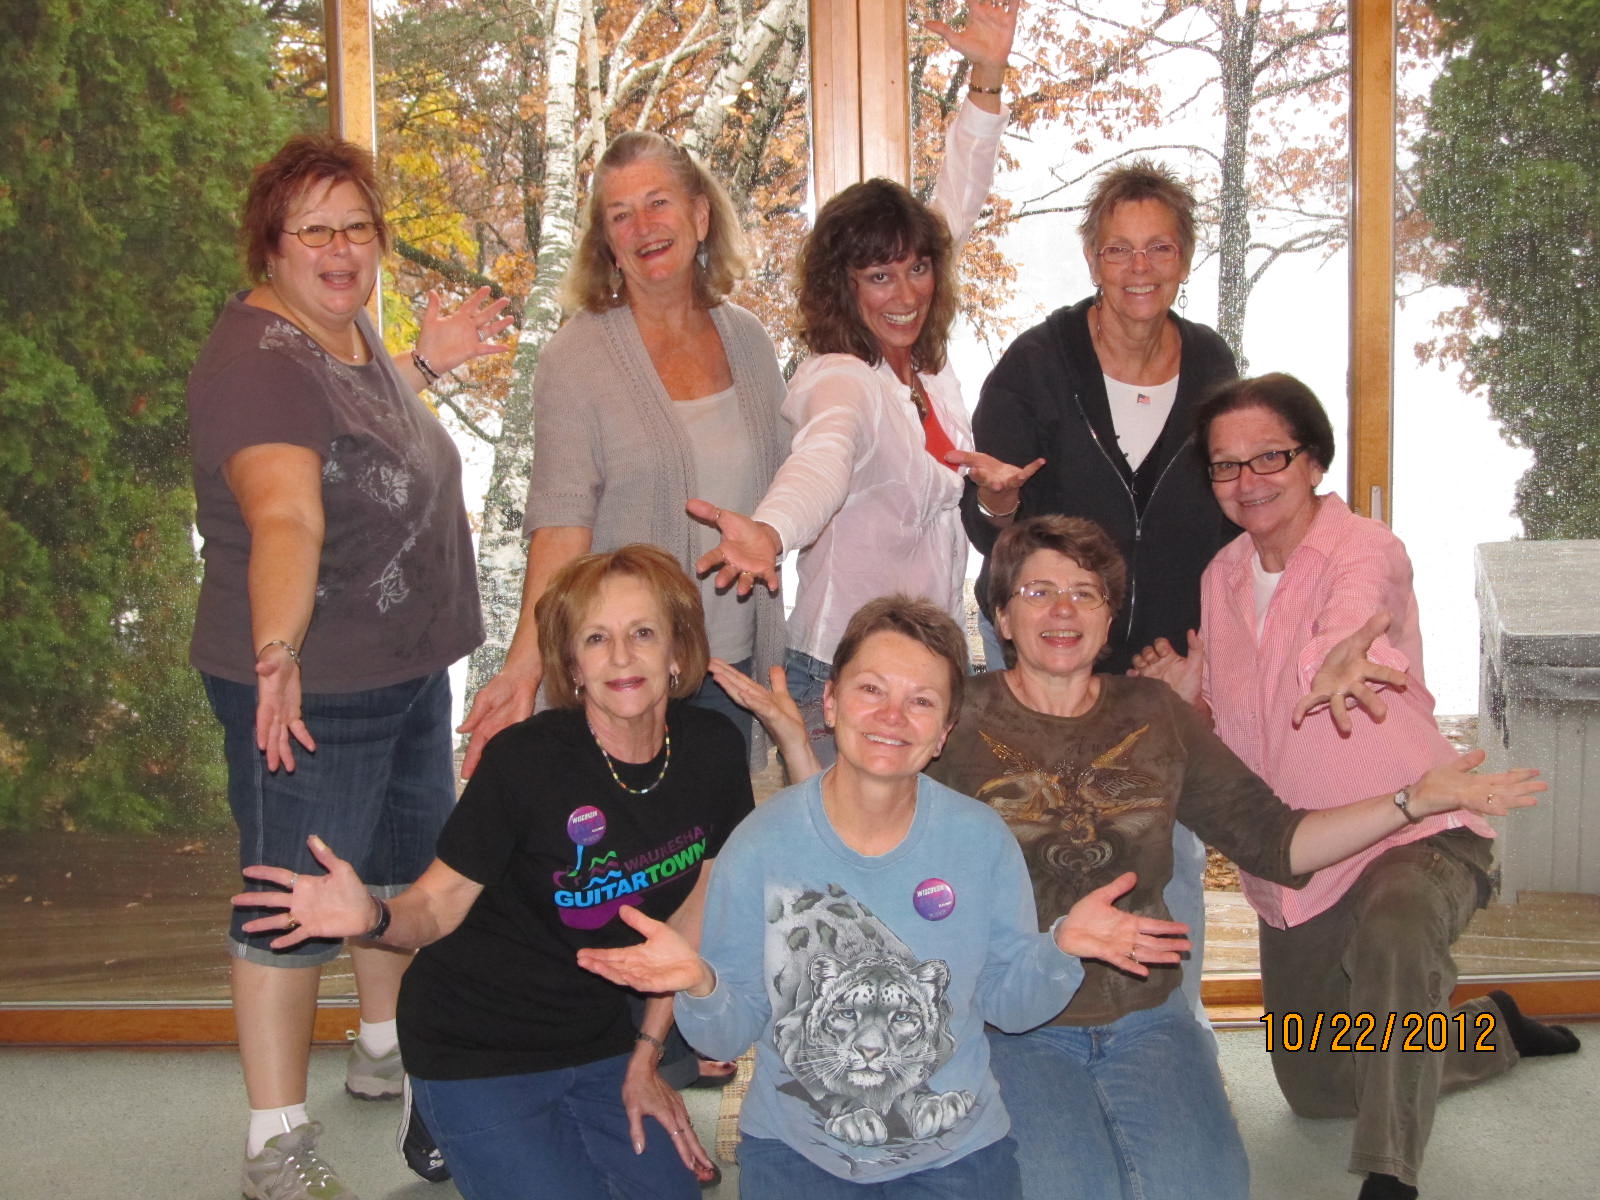
 Just in case our group picture didn't turn out we, or should I say Bob, took many.  I picked the best to show on the blog... some serious and some silly.
 I was in the front row so I didn't know what was going on behind me... now I know.
 Some of us have on our pins.... yes, Bev made us pins for our WI Art Camp... just like she had made last year.

 Jan also brought her gelli plate.  It is a rather new product that we played with.  This too was a hit with some people and when we stopped at Artist and Display there were several flying off the shelf. 
Jan demoed and most people tried it out to create backgrounds.  Basically, you apply layers of various acrylic paints to the thick gel plate and then can use stencils or texture pieces (like bubble wrap and punchinella) to create interest and depth
 I was watching the fun and still trying to get my printer to work with the TAP that Margaret brought for us to play with.  The more I tried, the more frustrated I got... I just don't know when to give up.
 Margaret is showing off one of her creations. She loved the plate.
We're getting toward the end of the afternoon and some of us are winding down.  Jan had to leave because it was Monday and she had to be home for her son.  I'm not sure what the rest of us are working on.
We were trying to fit 2 projects in each day, but we decided in the future that 1 project a day is probable enough.... besides, we need time to talk and enjoy each other without the stress of projects.

WI Art Camp 2012 - Day 2

 And on Day 2 the fun continues.  I was worried that with 8 of us working at the dining room table we'd be too crowded, but... I think it worked out fine.
Pea took charge of this project and it was a huge success.  She had printed out a book for us with colored pictures and instructions of various projects to do with friendly plastic... AND.. she provided the friendly plastic!!!!
 Pea did a lot of work in preparation for us that saved us a ton of time.  She had created many multi-colored sticks of FP.  We could make coasters, embellishments, bracelets, rings, and pendants.  I had an electric griddle and both Pea and Maggi brought theirs so that we had 3 work stations going at once.
 I must have been busy creating because I found I didn't have many pictures to post for this day.
This pic shows some of the embellishments that I created using small cookie cutters that Pea supplied.
 Some of Margaret's embellishments can be seen on this craft sheet.  The beautiful colors are achieved by marbling the FP as it sits on the griddle.

 Even the 'negative' piece left after cutting the FP with a cookie cutter can provide an interesting piece that might be used in some future art project.


It was a busy and enjoyable day.  If you look closely on Margaret's craft sheet, in the foreground, you can see a couple of bracelets that she created.

WI Art Camp 2012 - Day 1

Bev, Carol, and Margaret arrived Friday evening for our 2nd Annual WI Art Camp.  After spending the day on airplanes we weren't about to jump into any art projects.  But on Saturday morning Pea arrived and we were ready to go... well almost.  The ladies made a trip to the local stamp store, Polka Dots, while I went to our granddaughter's sectional cross country meet.  Then we all met up at my house and began.  Our first endeavour was a quick and easy project sponsored by Pea.  We had no idea what she had up her sleeve. 
 Alcohol ink colored candles
First lay out a plastic sheet or garbage bag to work on.  Apply alcohol ink puddles on plastic sheet and roll candles in it.  Then you can use pieces of felt to apply alcohol inks to areas of the candle that you missed.  At any time you can spray the candles with a little blending solution that you've poured into a mini mister.  You can also apply the alcohol inks directly from the bottle by squeezing drops down the candle starting at the top.  You can even roll your candle onto the plastic sheet again.  We found that the look of the candle changed a little after they sat for a while so you may want to wait between applications.  And, be careful not to create a 'muddy' look.
Here Carol went outside to get a better shot of our candles through the window.
Five of us created our candles on Saturday and we thought the others would do theirs on another day in between our other projects.

 Since it was a sunny day we decided to take a walk before starting our next project.  We walked down the road and I took them through the YMCA Camp that is located on our road.  As we followed some walking paths we came across a tether ball... so a few of us gave it a whirl.
 Pea just couldn't resist climbing this tree.   I was glad that we weren't picking her up off the ground!!!!  I was afraid that some of the branches might have been weak.
 At one point on the walk there is a wood walkway that goes over a swampy area toward the lake.
It was a little chilly, but we wanted to burn off some calories so that we could enjoy the chicken burritos that Pea cooked for our dinner.
 Bev led the way to the end of the walkway.  Some of the railings looked a bit rickety!!!
 Even though the campers are gone for the year we found a soccer ball on the field.  I thought that ball was coming right for my camera!!!
I hadn't walked through the Y Camp in a couple of years so I was surprised when we came upon this climbing wall.  Margaret and I were the observers.
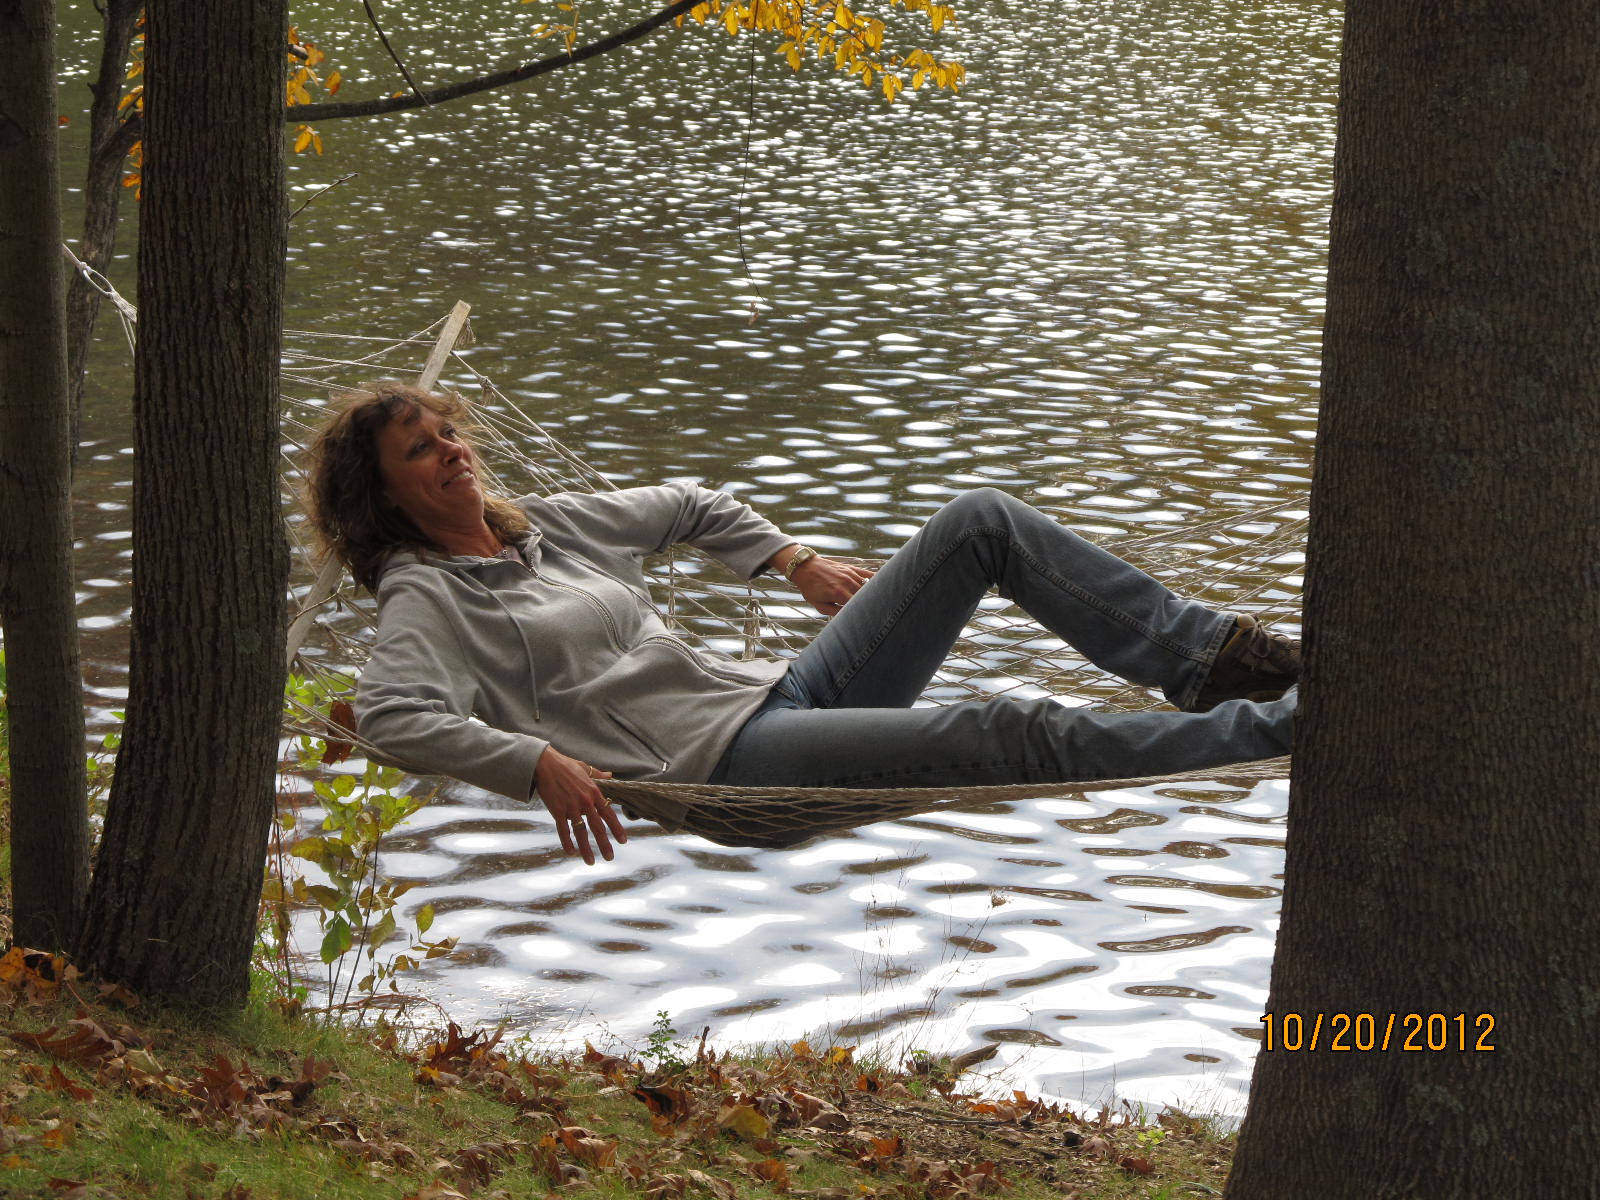
 One false move in this hammock and Pea would have been in the lake!!!
 We came upon these comfy chairs.  I've seen these for sale and they are NOT cheap.  I think they are made from recycled milk bottles; I know they are indestructible.  I found out later that the Camp's Director is living on the property throughout the year and I'm thinking that this might be the building he is living in and these might be his chairs... OOPS!!!
 Back at the house we're having some snacks before starting on our next project.
 This was my 'surprise' project... well, it was a surprise for Bev, Carol, Margaret, and Jan.  Each of us was given an apron and then we all had to create an embellishment on each other's aprons.  I had fabric markers and fabric scribbles dimensional paint available.  It was amazing how each of us came up with something unique to do to the aprons.
Carol grabbed markers and began drawing a dragonfly or a butterfly on each apron.  Each one was a work of art.
 Bev brought fabric, buttons, and embossing threads.  I'll bet she thought she'd never finish.  The results were fabulous.  On each piece of fabric she embroidered the word "Create" and then she added a button and a flower.  Then she attached the fabric swatches with french knots.
Later that night we decided to relax in the hot tub.  Pea had gone home so there were just 4 of us.  We were hoping to see lots of meteors because of the meteor shower that evening, and we did see some, but not many.
On day 2 Pea would be coming back and Maggi, Mary, and Jan would be joining us!!!